Check out my other blog that I created specifically for my crafts, www.19eightyexpressions.blogspot.com
I made the cutest mailbox from a file I purchased from www.svgcuts.com. I blogged about it on the 19Eighty Expressions blog.
Saturday, February 12, 2011
Friday, February 11, 2011
Started a new blog
I mentioned here that this blog started out as a life blog but since has been taken over by cards. I decided to make a separate blog specifically for my cards and other papercrafting awesomeness. You can find that blog at www.19eightyexpressions.blogspot.com Hope to see you there!
Sunday, January 30, 2011
Tweet Tweet
No this is not about Twitter!
I have been obsessed with stamps lately and especially wood ones. I just love how they stamp compared to the acrylic type. The bad thing is they are pretty expensive in comparison unless you hit the dollar bins at Michael's and JoAnn's which is exactly what I do.
Today's card is one I made using a dollar bin stamp I found at Michael's. I have started getting into coloring the images and this is actually my first attempt. I am so glad it came out well.
I have been obsessed with stamps lately and especially wood ones. I just love how they stamp compared to the acrylic type. The bad thing is they are pretty expensive in comparison unless you hit the dollar bins at Michael's and JoAnn's which is exactly what I do.
Today's card is one I made using a dollar bin stamp I found at Michael's. I have started getting into coloring the images and this is actually my first attempt. I am so glad it came out well.
| 4 layers |
| The branch & bird were stamped. The inside of the branch was colored with colored pencil. |
| Tied a cute ribbon bow for more detail |
| Sentiment is stamped and embossed |
| Used two shades of pink ink to color the flowers which are also stamped |
Wow, it's been a busy few weeks.
I have been busy busy making new cards. I can't even remember which ones I posted here and which ones I haven't. Should I post them all at once or give each card it's due and make separate posts? I guess I'll just start with one card for now.
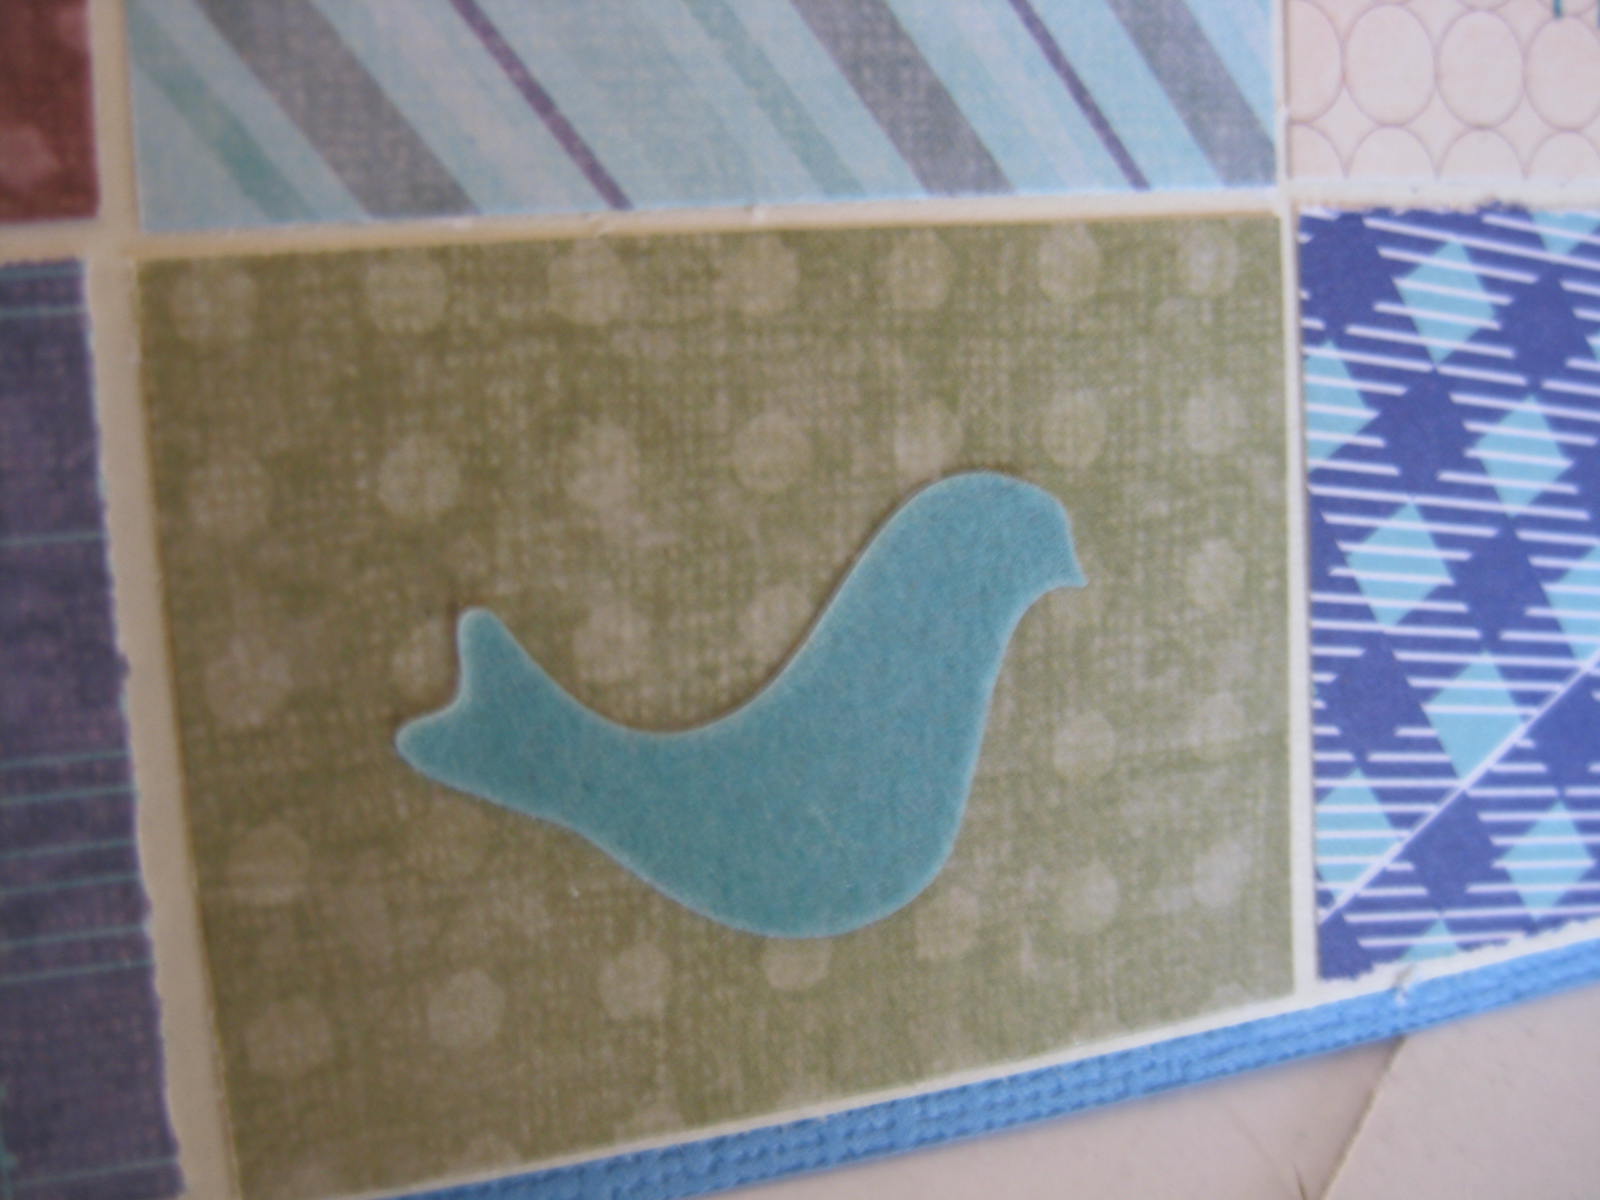
I was inspired by a picture in a magazine for this adorable patchwork card. I love the look of it. Let me tell you though, math is not my strong area (how I work in accounting, don't ask!) so it took me awhile to get the measurements for the patchwork rectangles right. After I figured out the dimensions the rest was easy. Pick pretty paper and embellishments.
Sunday, January 23, 2011
Hawaii Themed Birthday Card
I made this awesomely cute card for a friend of mine. I started out with one idea but it all changed once I started making the card.
I started out with making Hawaiian looking flowers like I made for my scrapbook page (pictures posted previously) and the hula girl. I put it all together and it just didn't look right. The hula girl needed an environment. She looked off just there with nothing but flowers next to her. I scrapped the idea of flowers and decided to create a scene for her.
The sky is actually the base of the card. For the ocean I dry embossed using my Cuttlebug and then inked it to give it two shades of blue rather than the on. On top of the ocean I place a shiny tan colored cardstock that I also embossed. I tried to ink it but the ink just slid right off. Note to self: glossy paper = no good with ink.
Next came the palm tree or is it a cocnut tree? The palm trees here don't grow coconuts so there's my confusion! Anyway, isn't it cute?! I embossed that using the Cuttlebug and a Sizzix embossing folder that I got for 60% off at Joann's. I inked it to make the textured look give it a more real look. The coconuts were actually scraps form another card that I had laying on the table. Score!
Little miss hula girl is precious. I cut her out and pieced her together giving her skirt and hair flower double layers. I drew in her face with pencil. Let me tell you...that is hula girl #2. Number 1 looked like the wicked witch of the west (that's the ugly witch right?). I had her all ready to go and then drew in her face....umm, she looked so horrible!! I had to take all the pieces off and redo her body/face. Oh, and her leg foot off! Hahaha. The one I ended up with is perfect. No funky face and she has two feet!
A lot of work went into this card but it was fun to make and I love the end result!
I started out with making Hawaiian looking flowers like I made for my scrapbook page (pictures posted previously) and the hula girl. I put it all together and it just didn't look right. The hula girl needed an environment. She looked off just there with nothing but flowers next to her. I scrapped the idea of flowers and decided to create a scene for her.
| Hawaiian Themed card |
Next came the palm tree or is it a cocnut tree? The palm trees here don't grow coconuts so there's my confusion! Anyway, isn't it cute?! I embossed that using the Cuttlebug and a Sizzix embossing folder that I got for 60% off at Joann's. I inked it to make the textured look give it a more real look. The coconuts were actually scraps form another card that I had laying on the table. Score!
| Coconut Tree |
Little miss hula girl is precious. I cut her out and pieced her together giving her skirt and hair flower double layers. I drew in her face with pencil. Let me tell you...that is hula girl #2. Number 1 looked like the wicked witch of the west (that's the ugly witch right?). I had her all ready to go and then drew in her face....umm, she looked so horrible!! I had to take all the pieces off and redo her body/face. Oh, and her leg foot off! Hahaha. The one I ended up with is perfect. No funky face and she has two feet!
| Hula girl |
A lot of work went into this card but it was fun to make and I love the end result!
Friday, January 21, 2011
![]() |
| My Pinterest |
So what is Pinterest you ask? Well only one of the coolest sites ever! It's like a virtual pinboard. You know one of those things you hang on your wall and pin pieces of paper to. It's like that but much more modern. Before Pinterest I would just look things up on the internet and save them to my bookmarks. The pain in that is when I need to find something I have to go through practically every bookmark to find that one picture I saved because of course I have no clue what site I got it off.
With Pinterest there's no need to have a bagillion bookmarks anymore. You can "pin" a link or pictures/images to your "board". Remember all this is virtual so when you see something online you like you click your pin icon (which you get off Pinterest) and you are able to pin whatever image or site you would like to whatever board you that you have created. It pretty much downloads it to the site for you. For instance, I have pictures of cards I found online that I like and pinned them to my "Cards" board. Doing it this way I have everything in one place and a visual of each item without cluttering up my bookmarks or a folder on my computer. There will be a link under the image to the site you downloaded it from and you are able to add a description and tags.
As with many of the popular social networks you can follow people on Pinterest that way you see what they are pinning and you can repin something they have. It's really a cool site and perfect for those people that are forever looking at things online for inspiration. One catch though, you have to be invited in order to use the site. Either you can go to the site and request it or you can request an invite from a member. It takes a few days for an invite from the site but if you request from a member you are able to become a member as soon as they invite you via email.
Each member is given 5 invites. If you would like an invite email me, message me, or leave a comment with your email address. I still have 5 left.
www.pinterest.com
Labels:
Pinterest
Monday, January 17, 2011
First card order = COMPLETE!
The title tells all! I am finally done. It was fun making the cards and it seems I may have gotten another order...a custom order this time. Yippee.
Today's card, the one that has completed my first card order, is so adorable! I had to get some inspiration for this one so I used the site www.pinterest.com and consulted my "board" for ideas. I'll get into detail about Pinterest in another post. OK, and here is the unveiling....dun dun dun!
Isn't it cute? It is simple yet beautiful and I probably used some of the paper I bought a Joann's yesterday. I actually made two cards, one for the order and one for etsy.
Oh did I mention I went to Michael's today. Oh gosh did I go crazy there too! I bought the stamp I used for this card out of the dollar bin. Awesome deal!
Today's card, the one that has completed my first card order, is so adorable! I had to get some inspiration for this one so I used the site www.pinterest.com and consulted my "board" for ideas. I'll get into detail about Pinterest in another post. OK, and here is the unveiling....dun dun dun!
![]() |
| Just Because sentiment card |
![]() |
| Adorned with a purple ribbon and pink flower |
| I made a second card (this is the one that I made for the order). |
| Heat embossed with sparkle powder |
Isn't it cute? It is simple yet beautiful and I probably used some of the paper I bought a Joann's yesterday. I actually made two cards, one for the order and one for etsy.
Oh did I mention I went to Michael's today. Oh gosh did I go crazy there too! I bought the stamp I used for this card out of the dollar bin. Awesome deal!
Labels:
Cards,
Embossing,
etsy,
Inking,
Paper Crafts
Subscribe to:
Posts (Atom)