CLICK HERE FOR FREE BLOGGER TEMPLATES, LINK BUTTONS AND MORE! »

Wednesday, January 12, 2011

Adorable cards!

Oh do I have some cute cards to show you tonight!  I think they are ADORABLE!

First, some news though.  I decided it was time to open an etsy shop.  It was actually kind of scary.  All these questions kept going through my mind like will any of my cards sell?  Will people like them?  Are they good enough quality, etc.  I guess that's normal when starting a new adventure.  I'm totally fine now though.

For those that don't know, etsy is an online forum for people to sell their handmade items along with other types of products.  I got my first order the other day and that's what prompted me to open an etsy shop.  I don't have many items to sell quite yet but I'm working on it.   

I have been working daily on stocking my shop and here are the 3 cards I have completed so far:

New Baby Congrats Card

Onsies make up the banner
Cupcake bday card


Isn't the cupcake adorable?


Can't forget the little boys!


Boy bday card


So there are my prides and joys for this week.  Not sure what else I will come up with in the next few days but I'll be adding pictures here and posting to my etsy shop as I go.  My etsy shop link is as follows:

http://www.etsy.com/shop/19Eighty

Enjoy!

Sunday, January 9, 2011

Seeing Spots

I have two cards to post but I'll just post one for now.  This one came from SVG Cuts' A2 Cards for all Occasions.  I didn't have to do any embossing or inking with the exception of on the tag because there's already so much going on with it.  It's a cute card.


Thursday, January 6, 2011

Smile!

The other day I decided to try and cheer someone up by making them a card.  This person is going through a rough time and I thought she needed a smile.  Here is the card I came up with.

Oh so pretty

Stamped & embossed

Embossed w/Cuttlebug and inked

 I don't think this person received the card as of yet.  They don't live within the state I live in so it may take a few days.  I sure do hope I sent it to the correct address!  It would be a shame for it to float around in mail space for too long.

The flower is from the 3D Flower Collection II from www.svgcuts.com.

I used the Cuttlebug to emboss the flower petals and also the background on the card.

Hope this card made someone smile. 

Tuesday, January 4, 2011

Valentine's Day Card

My friend had a great idea the other day while I was at her house.  She said we should make Valentine's Day cards for our husbands.  Ahh, how I loved that idea seeing that I keep trying to find reasons to make cards!

I wanted to make one that wasn't too girlie yet not too manly so I kind of combined the two.

I think the grey strip makes it less girlie.

Caption


Blinged out with hearts


I love the silhouette of the children.  I searched images for children kissing and this came up.  I had to work some magic in Photoshop to make it show up correctly in my program (Make the Cut) but I was so happy when I made it happen.  I am easily pleased.

The grey strip down the side reminds me of a mechanic shop or something.  The the tearing made it more rough and not so "put together".  I was a little iffy about it but I stuck it on there and added some ribbon to dress it up a little.

For the "I Love You" caption I used a rotary cutter my mother-in-law bought me for Christmas then inked the edges.  I also stamped the "I Love You" then embossed it with clear embossing powder.  I LOVE that rotary cutter and my heating tool!  The heating tool I got from my sister as a Christmas present.  As for the cutter, I used to use the scissors for cutting but trying to make your cuts straight was a pain so the rotary cutter has made life much easier.  It came with a few different blade options, one of them being a scouring blade which I have been using to make a bend in the pop up card captions. 

Speaking of pop-up card captions, I did a pop-up "I Love You" in the inside and attempted to glitter it but it came out terrible.  Sorry, no pictures of that will be posted but Andrew gets to see it when he gets the card.  Haha, yes I plan to give it to him with the ugly "I Love You" glitter words.  Hey, I tried.

Friday, December 31, 2010

Pretty in Blue

This Thank You card is for my grandparents who sent me a very generous graduation gift.


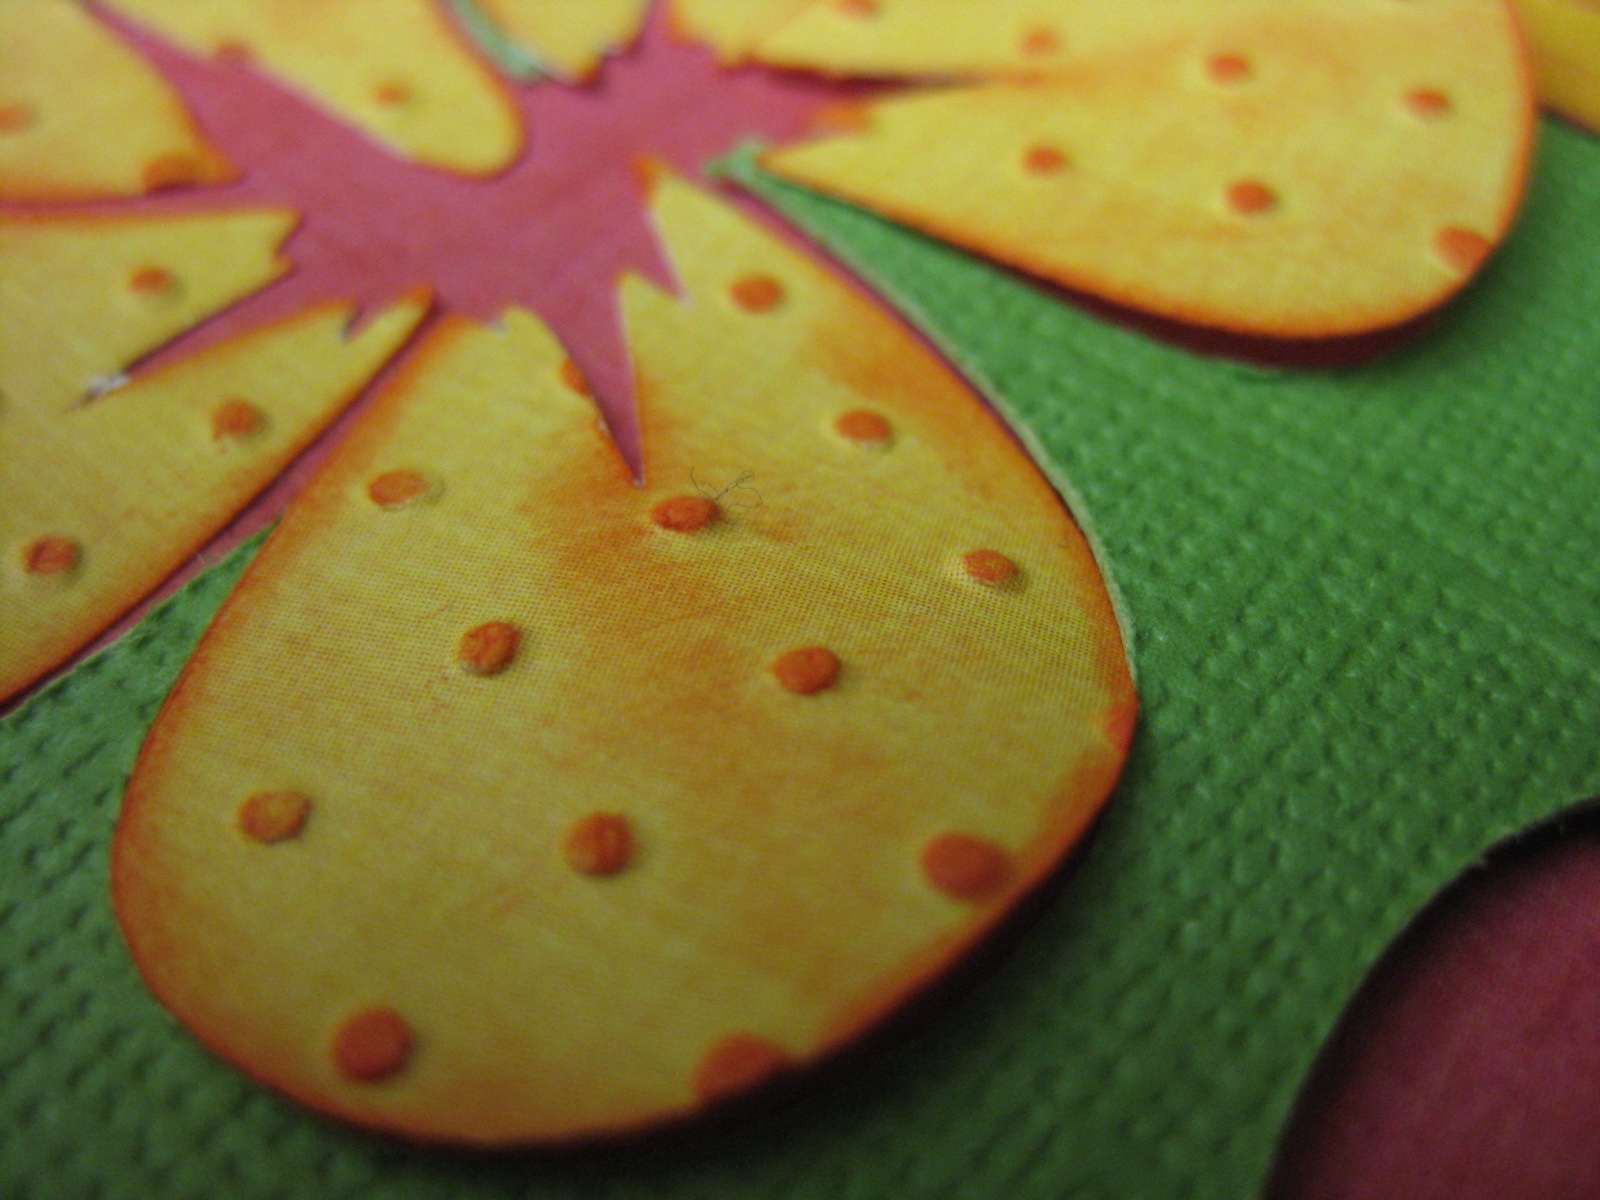
Double layer flower

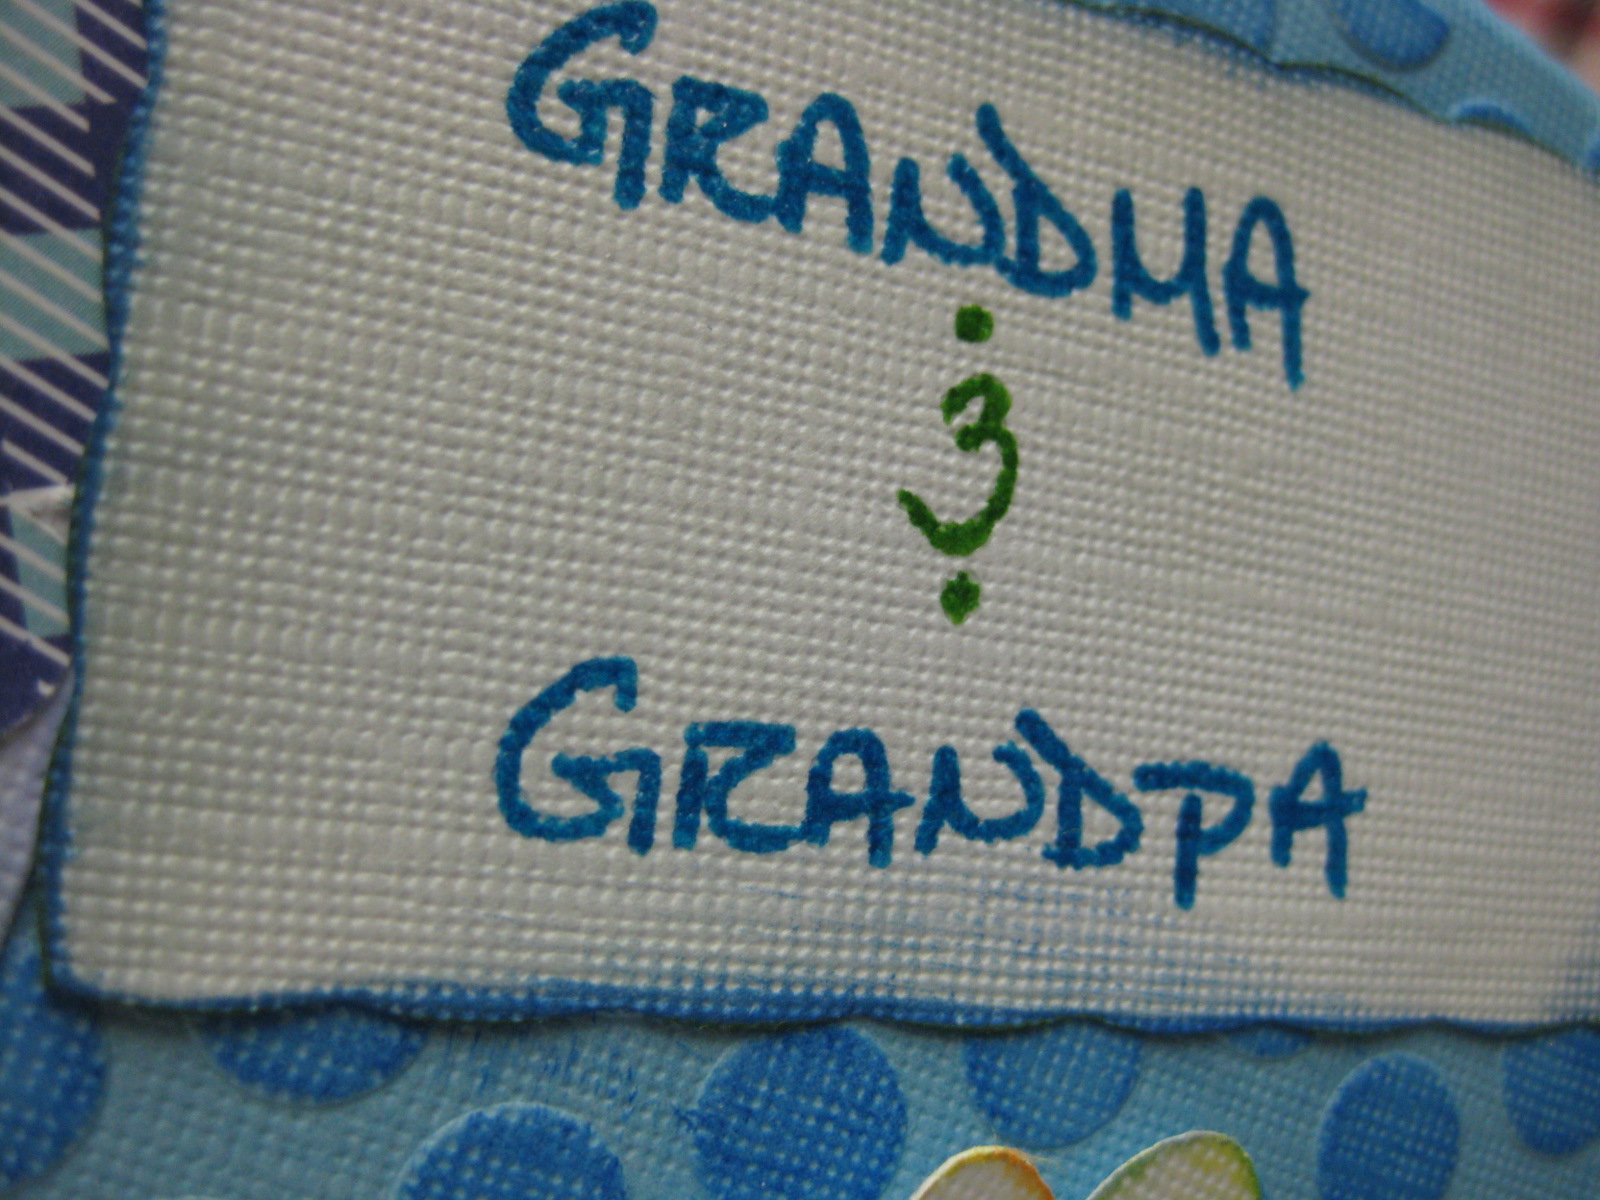
Embossed handwriting

I love ink.  Can you tell?


Inside: Pop up "Thank You"


Added a silver outline right before I mailed it out.

I purchased the Premium Pop-up card set from www.svgcuts.com to make this card.

Wednesday, December 29, 2010

Colorful Hawaiian Delight

I think this blog has turned into a showcase for my creations rather than what it originally was intended for...everyday life.  Oops!

Today I finished another Hawaii honeymoon page.  It started out as a big mess but I made it work somehow.  Andrew has actually been giving me input from time to time on my projects and he had the idea to make the flowers stick up to give the page dimension.  Great idea!  He is seriously amazingly creative.  I can't even imagine what he would come up with if he did this.

Well, on to the fun stuff!  Here are the pictures.  It's really hard to just pic one or two pictures to post so here are a ton.

Full page shot.  For some reason I can't rotate it.

Embossed with Cuttlebug and Swiss Dots folder then inked

Detail shot


Stamps & marker embossed then glittered


Embossed with Cuttlebug using various folders then inked

Raised flower

I like detail shots!


Hope you enjoyed!  It's not easy coming up with ideas out of nowhere and this is exactly what I did with this one.  I started off with doing it one way but that didn't look right so on it went until this happened.

I have no clue what my next page will be but I know it will be fun to make.  Actually I think my next project will be a Thank You card for my grandparents.  That sounds nice.  It will be a break from making a 12x12 page.  Cards are so much easier to make.

Sunday, December 26, 2010

Honeymoon scrapbooking has commenced

Today I tried out some new techniques.  Embossing and antiquing/distressing.  You've seen some of my other work with embossing but today I ventured into new territory.  Embossing with an embossing tool, embossing powder, and embossing markers.  Oh yes, I tried all this for the first time today.  Antiquing/distressing was a new adventure as well.
Cruisin' Caravan - die cut kit purchased from www.svgcuts.com

Close up

Inked edges and embossed handwriting

Ditressed/antiqued look

Embossing

A different angle


The die cuts (suitcase, stamp, etc) were purchased from www.svgcuts.com.

I used the Cricut and Make the Cut software to cut the kit.

The paper was all from either Joann's or Michaels (4 or 5/$1).  I never buy anything full price. 

I crumbled the suitcase and used Tim Holtz' distressing ink to create the antiqued look.

The red tag is embossed using a Cuttlebug and the Swiss Dots folder.

The blue and also the white tags were inked on the edges.  I then smeared the ink to give the paper a new look.

The handwritten portion of the page was written with embossing markers then topped with clear embossing powder and heated up with a heating tool.

This was a fun project to work on especially since a lot of the techniques I used were new to me.  Can't wait to create more awesomeness!